Tree Silhouette Art
“When you try to control everything, you enjoy nothing. Sometimes you just need to relax, breathe, let go and live in the moment.”
What You Need:
1. Water colour paints
2. Water colour paper (regular paper works but it is not as durable)
3. Straws
4. Toy Cars/Trucks
5. Q-Tips
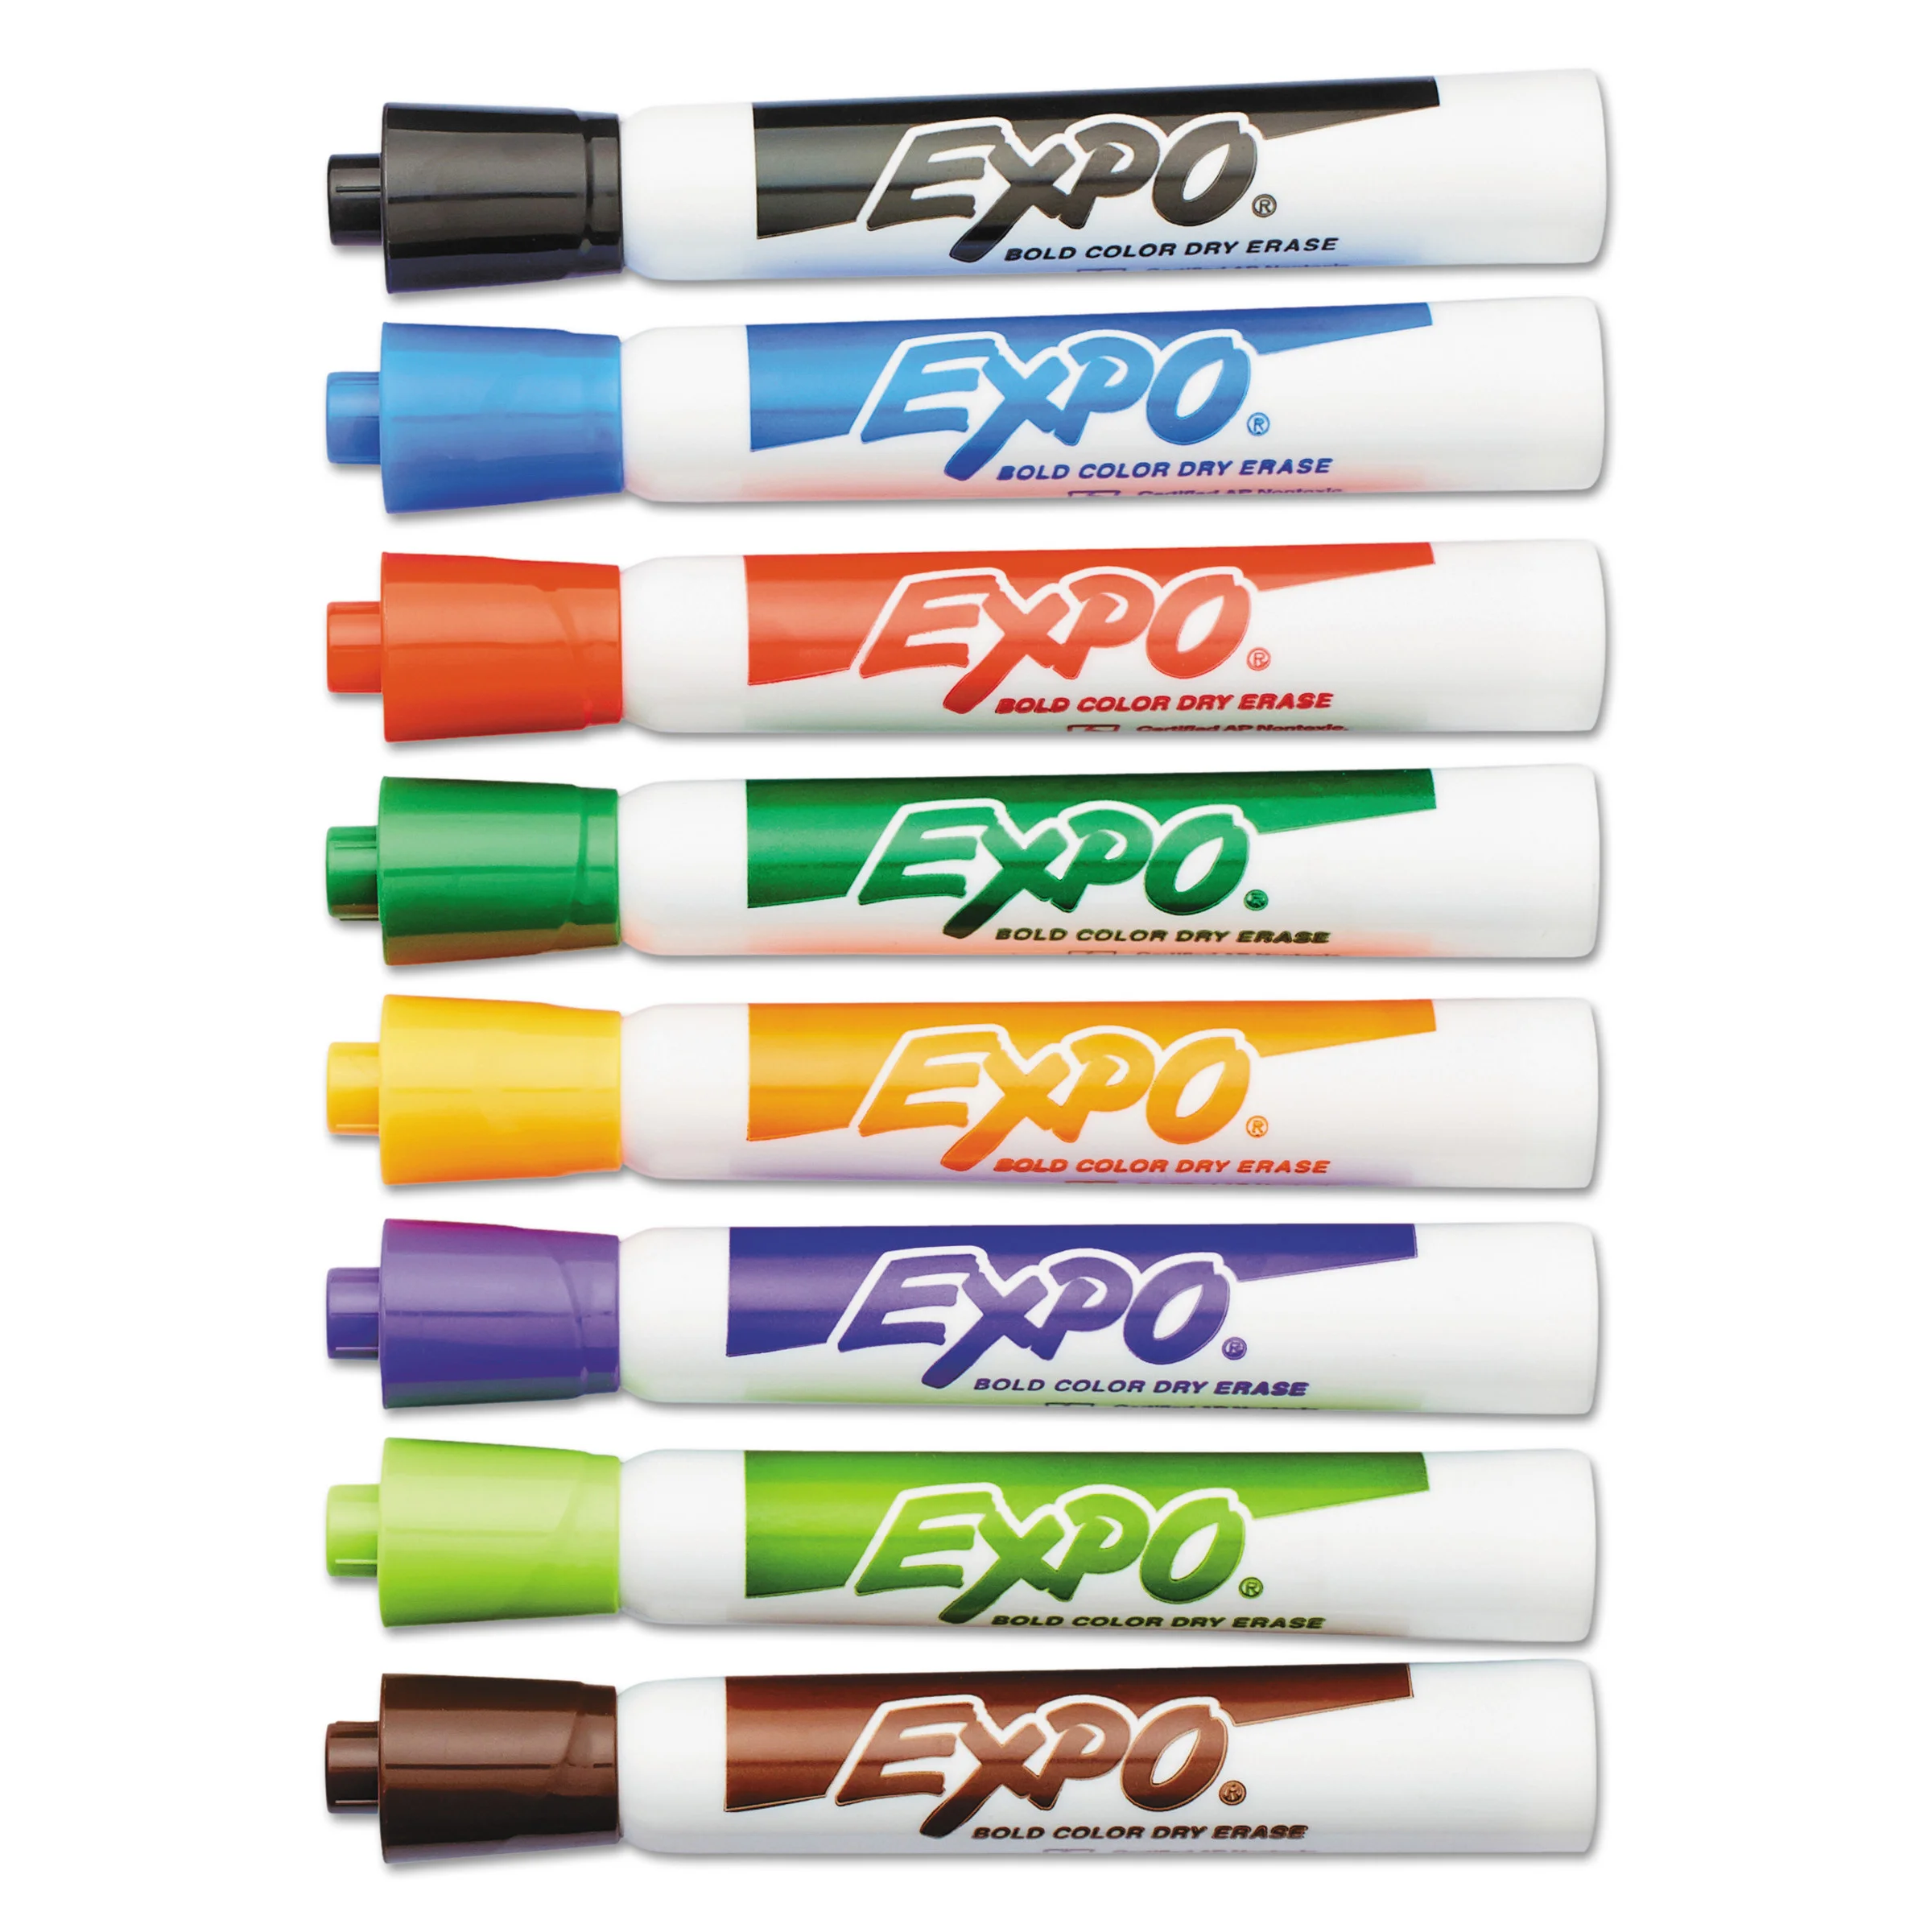
6. Washable paint
7. Water
8. Paint brushes
How To:
Before diving in with your eager kid(s), I suggest trying the art activity out yourself to make sure that it is age appropriate for your child and to test for problems that may arise during the actual activity. Children go into activities excited and ready to explore. Having it come to a halt due to issues that could have been avoided is a waste of what little attention span you're going to get.
- Prepare your space.
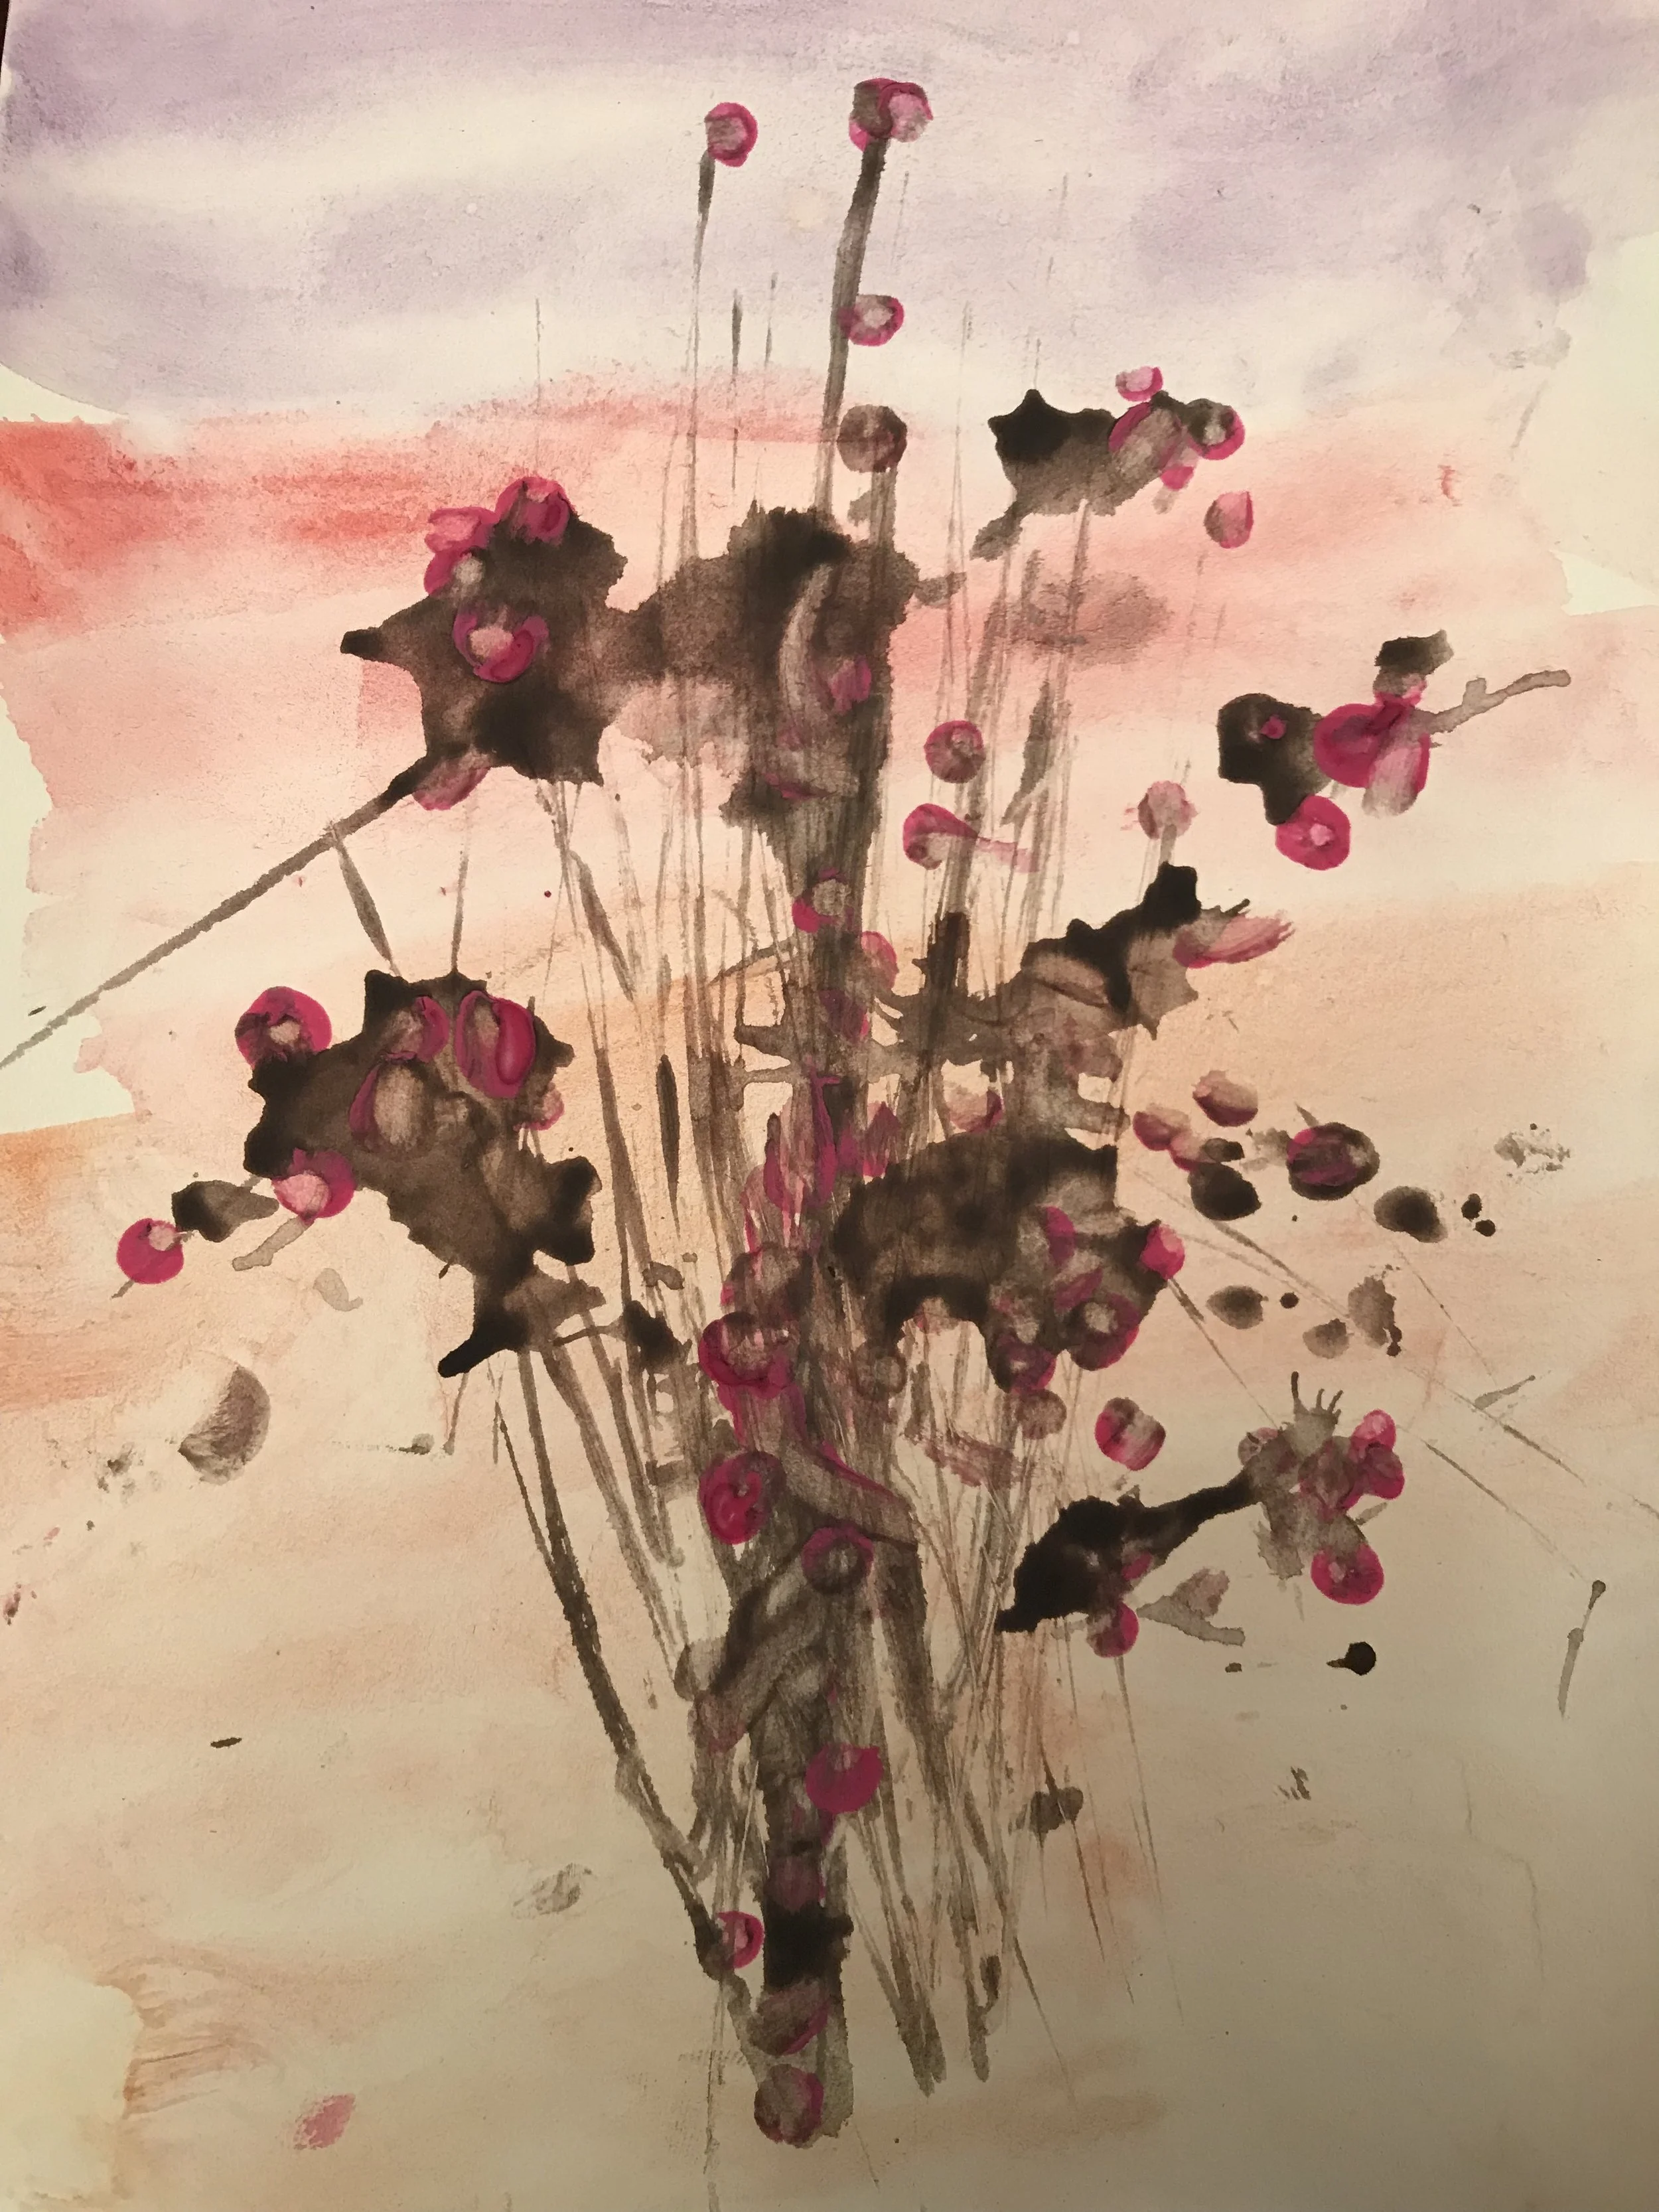
- Show your kids a completed sample piece.
- Start by creating the watercolour background.
- While the watercolour background is drying, have the kids practice their tree technique on a separate piece of white paper.
- Place dots of black Crayola washable paint for your kids to blow across the paper using straws.
- Note - water the black paint down so it becomes thinner and easier to blow across the paper
- Dip toy cars/trucks into the watered down black paint and have them run it along the dots of water and across the page to create the effect of branches.
- Have them repeat this technique on top of the dried watercolour page they created.
- Use a Q-tip and Crayola paint to create the flowers/leaves on the tree; teach them a dabbing technique.


Tips and Tricks:
I like to lay down a tablecloth or plastic covering over our workspace and normally offer paint shirts or smocks to keep the clean up as minimal as possible.
Be mindful of how you introduce the sample work. We are not trying to get our kids to replicate the art to perfection. Art is meant to be explored, changed, and altered - there is no wrong way. The point of the sample piece is to show a general end result without expecting anything to be exact. Replication of a sample would be crafting and there is a time and a place for that too.
Alter the activity and the expectation for the age of your kids. Obviously, with 3 year olds, I kept it pretty basic. Simple and short. With older kids, you may let them choose how they do their watercolour backgrounds and what colours they use. In my case, I laid out the exact clours and only had 4 options available. For the branches, you may let your kids place the dots, draw their own trees, or come up with their own way of creating the tree silhouette.
You can use any number of tools with different mediums to create the same effect. From watercolour to pastal for the backgrounds; using straws to blow, real twigs, or tissue paper for the trees; to qtip dabbing, cotton balls or torn paper for the leaves. Anything goes when it comes to art.
Give your kids free time at the end of an art activity to do as they please with the supplies available to them. Remind yourself that fostering a sense of pride in their work and a love of art is what is important. Art is about the process not about the product.
Above all, have fun and your kids will have fun too!