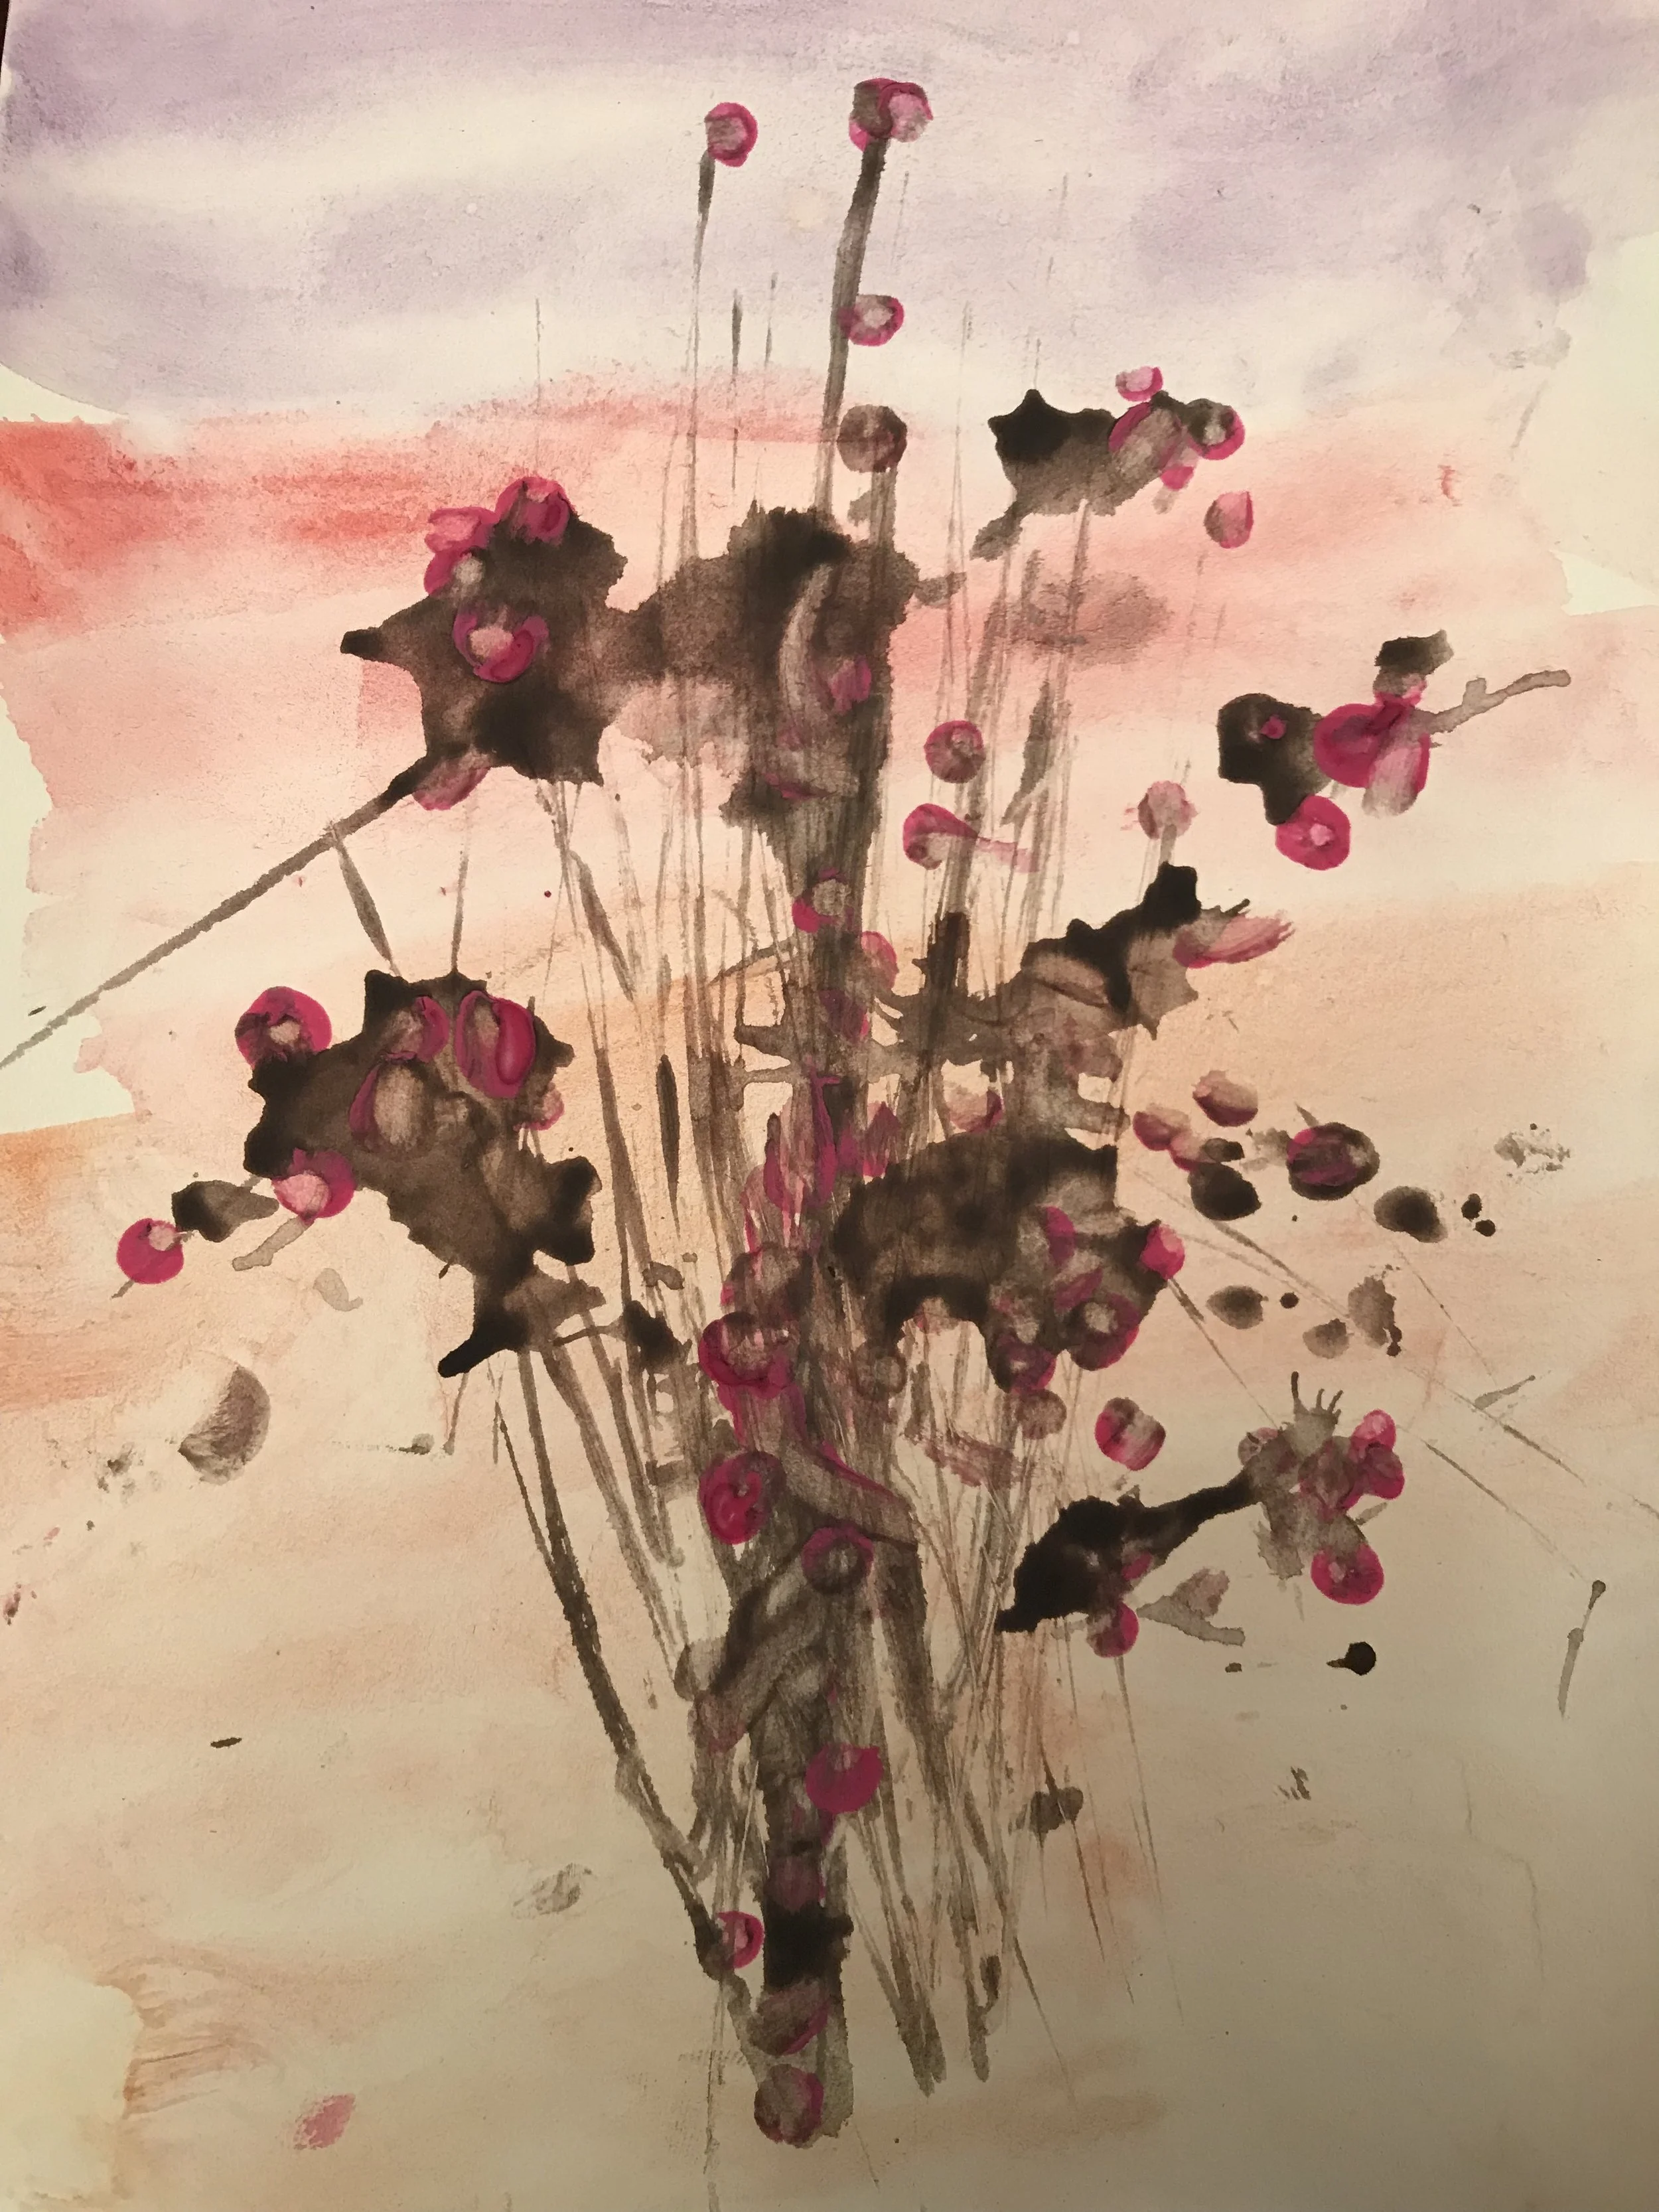
Marbled Shaving Cream Art
“Take chances, make mistakes, get messy!”
What You Need:
- Thick paper - I used watercolour paper
- Shaving cream
- Food colouring - I used the neon liquid food colouring
- A variety of paints will work for this activity just test before you start
- Liquid watercolour is a great option that would be a lot less messy
- If you can not find liquid watercolour, you can buy gel watercolour and mix it with water
- Chopsticks/Popsicle sticks
- Any item to swirl the colours together can be used
- Squeegee
- Any other item to wipe away the paint can be used
- Cookie cutter(s)
- Black paint
- Disposable deep roasting pans
- Any flat-bottomed tray to pour the shaving cream into - that you aren't worried about getting food colouring on - will work
- Paper towel
How To:
- Prepare your space
- This activity is messy so prepare accordingly. Lay down a tablecloth and put your kids in a paint smock or clothes you aren't worried about ruining.
- If you are inviting other kids to join you in this activity tell parents beforehand that you will be working with food colouring that can leave stains.
- If you are worried about staining opt for liquid watercolour or another paint that is less likely to stain.
- I like to use items that are disposable for easy cleanup.
- Disperse shaving cream into the roasting pans.
- Do not use too much; a thin layer is plenty and won't waste the shaving cream.
- Let your kids level out the shaving cream.
- This is as much about your kids exploring the new material as it is about leveling off the cream. Let them learn through touch and enjoy the feeling. You may have to help out to actually level off the cream.
- Allow your kids to drop the food colouring onto the shaving cream.
- Encourage them to disperse the colour all over the cream.
- Let your kids use as many colours as they would like.
- Give your kids a chopstick to mix the colours through the shaving cream.
- The more your kids mix, the more marbled your final product will look.
- Once satisfied with their colour mixing, place a paper on top of the shaving cream, pressing gently to evenly disperse the shaving cream across the page.
- Don't worry if you pull the paper up and some of the cream has not transferred. Just re-press the paper into the cream to fill in the spaces. There is no wrong way to do this.
- Lift the paper and take a squeegee to pull the shaving cream off of the paper.
- Use a paper towel to gently remove the excess shaving cream.
- Add another thin layer of shaving cream ontop of the used cream and repeat the process to create as many pages as you would like.
- Optional: Use a cookie cutter in the shape of your choosing to create prints overtop of the marbled art.
- Teach a "down up technique when doing a print


Tips And Tricks:
- At the end of the art activity, I like to remove all of the items that I am keeping and simply roll all of the garbage into the disposable tablecloth. This makes for quick and easy cleanup.
- When squeegeeing, remove the excess cream and put it back into the trays. Don't worry about mixed clours as you will add shaving cream before you start the next layer.
- Save the final product to use for cards, gift tags, or wrapping paper.
- Make sure you purchase shaving cream and not shaving gel. We used Gillette Original and it worked perfectly.
- Be sure to buy enough shaving cream. For just one child, one can is more than enough. For my group of 4 kids, I bought 2 cans and each kid was able to do at least 2 pages.
- Let your kids be as independent as possible. It is so easy for us to see them doing something we don't like and to try to correct it. With this art, it all looks good in the end so let them choose their colours and let them swirl to their heart's content.